Locations
Setting Up Locations
Whether you have one location, or dozens, or if you provide services within a geographic area, NewLIST allows you to setup your locations so that your customers and clients can find you online. Each of your locations or service areas will have a short profile telling your customers about your business and how to contact you.
Setting Up Your First Location
A location is your place or area of business where you want your customers to find you. To do that, you need to create a new location (or multiple locations) with an address where you do want your customers to find you.

When you first login to your account, the Account menu appears within the topmost main menu. Hover over Account and then select Manage Locations to view the Locations management area. You should see a table of locations like the above image, only yours will be empty at first.
The location data listed in the table are searchable to help your find and sort multiple locations quickly and easily.
Location Controls
Under the Controls column of the table, you'll see multiple control icons. Click the icons to:
- Edit - Shows the edit window for this location.
- Play or Pause - Allows you to show or hide this location from searches. This is convenient for adding new locations that may not be open yet but are coming soon.
- Trash - Removes the location from your location listing.
If your business has just one location, this screen may seem like overkill. However, for business with numerous locations, the locations table allows you to quickly find and manage your location information.
Add or Edit Locations
At the top right side of the Locations table listing is the Add Location button. Click this button to show the Add Location form wizard. If you are adding a new location, the form wizard will be empty. If you are editing an existing location, the form wizard will be pre-populated with your location's information.
Location Information Wizard
The edit location wizard is a tabbed form, meaning you can click through the wizard's tabs using the next button or just click the tab of the type of location data you wish to enter.
Name
NewLIST attempts to give you a number of tools to help customers find your locations in the easiest way possible.
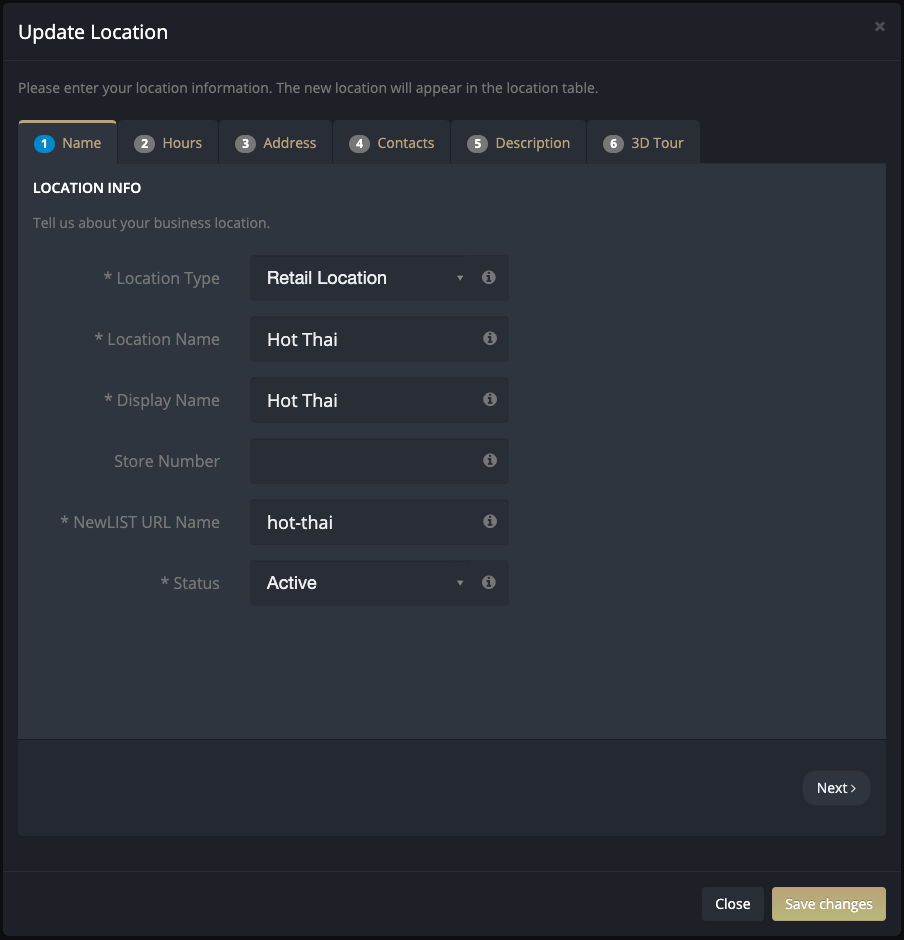
Below is a brief description of the fields available on the location wizard's Location Name tab:
- Location Type - Selecting a location type helps us determine the kind of profile information to display when people search for this location.
- Location Name - The formal name for this location, often includes the company entity type, like INC. or LLC.
- Display Name - If the name of your location without the legal formalities. This is the name we try to display within search results. Often the Location Name and Display are actually the same. Don't sweat it thinking they have to be different.
- Store Number - This is actually a pretty important piece of information for companies with LOTS of locations spread across the country. You can easily search for loctions by store number with just a few key strokes in the locations table.
- NewLIST URL Name - This is a unique tag that NewLIST uses as a way to "quick link" to your location. location quick link URLs must be unique. If your URL tag isn't available, the form will let you know so that you can select another. These links make it easy to cut and paste links to your business location within NewLIST.
- Status - Active or Inactive. If you don't want a location to show up in search results, set its status to inactive.
Hours
Next you can tell people your hours of operation.
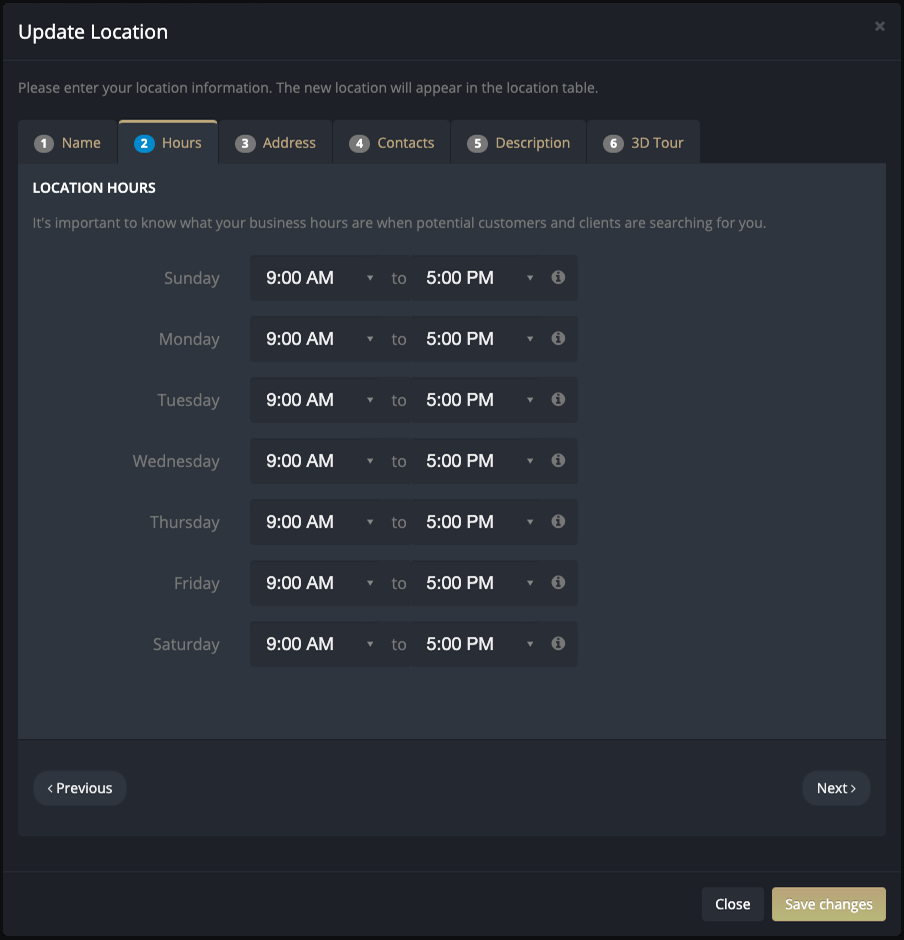
Filling out your company hours of operation is pretty simple. Just adjust the times when you are generally open and closed through out the week.
Address
Your location's address is an important thing to get correct on NewLIST as it will allow customers to find you accurately within their searches:
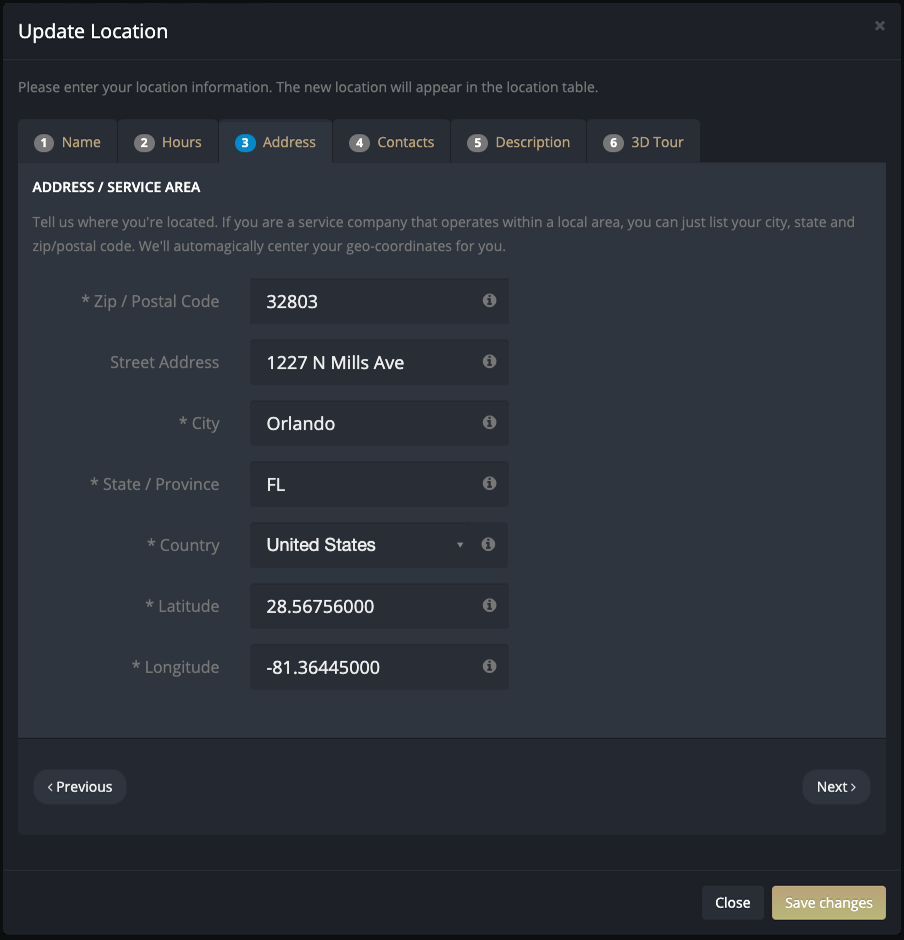
The location address tab shows the following fields:
- Use Company Info - If you are setting up a location and the location name is the same as your company's profile address, you can use this checkbox to pre-populate the address fields.
- Street Address - When filling out this location's street address, avoid using abbreviations as much as possible. Spell out words like "Saint", "Drive", and "Street". Sometimes we have difficulty getting the proper coordinates of your location if the abbreviation is too vague.
- City - The name of the city this location resides within.
- State - When filling out the state, you can use the typical postal abbreviation (preferred) or spell out the state.
- Zip / Postal Code - Enter your location's zip code or postal code.
- Country - Select the country this location is within.
- Latitude / Longitude - Once you have your address typed into the form, including the country, we will attempt to geocode your location's address automagically. If you typed a proper address, accurate geo-coordinates for latitude and longitude should appear within these fields. If you do not see any coordinates, it means NewLIST was unable to geocode this location. Try to use different non-abbreviated spellings of your location's address to generate your location's accurate geo-coordinates. NOTE: without proper geo-coordinates others will not be able to find your location on NewLIST!
Contacts
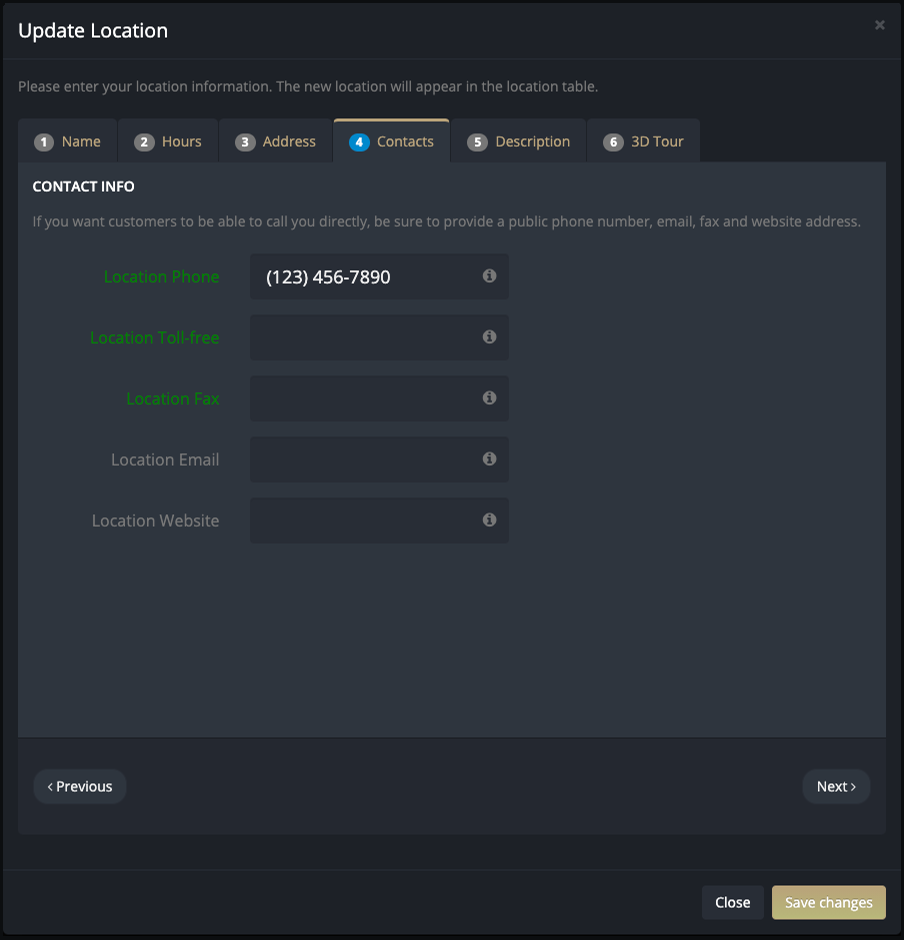
The Contacts tab allows you to enter a number of ways for your customers to contact your business' location, including phone numbers, email, web address and any social media.
Description
The Description tab contains some basic information about your location that your customers would like to know about. This field is optional.
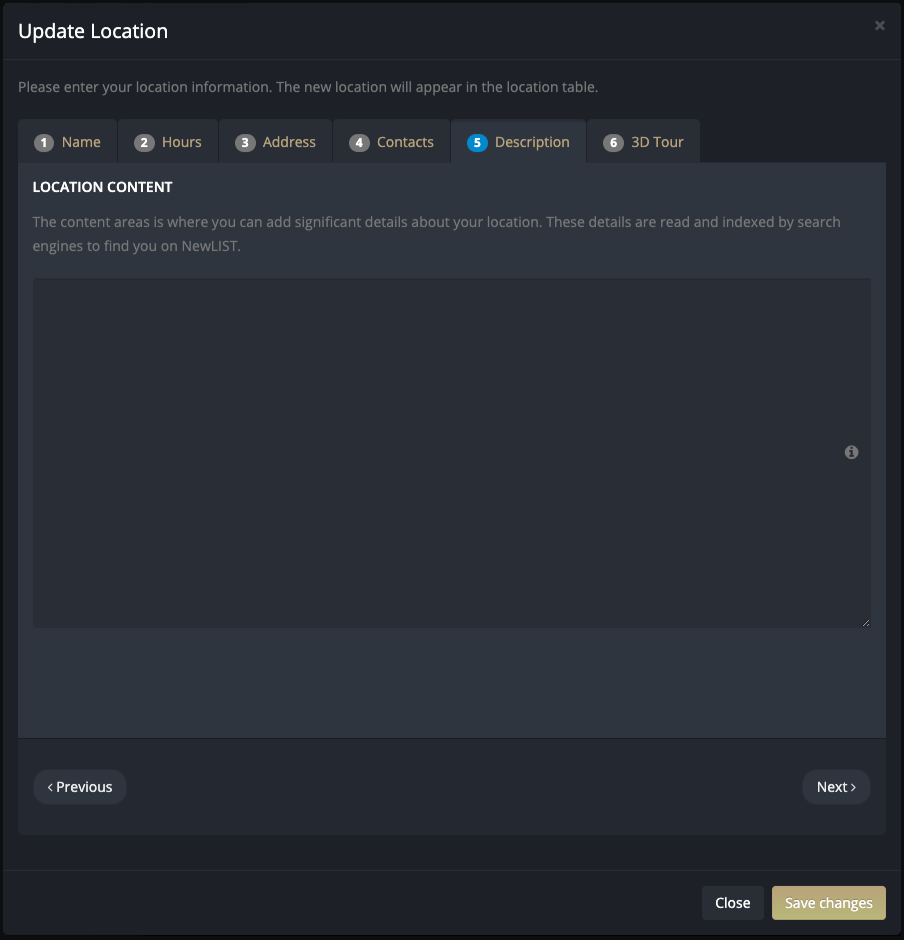
One of the featrues of NewLIST is also being able to show a 360 Tour of your location. If you have a self-playing tour of your location, paste the embed HTML code in the
3D Tour
If you have a link to a 3D Tour of your location, you can paste that video link here and NewLIST can display your 3D Tour to your potential customers. This field is optional.
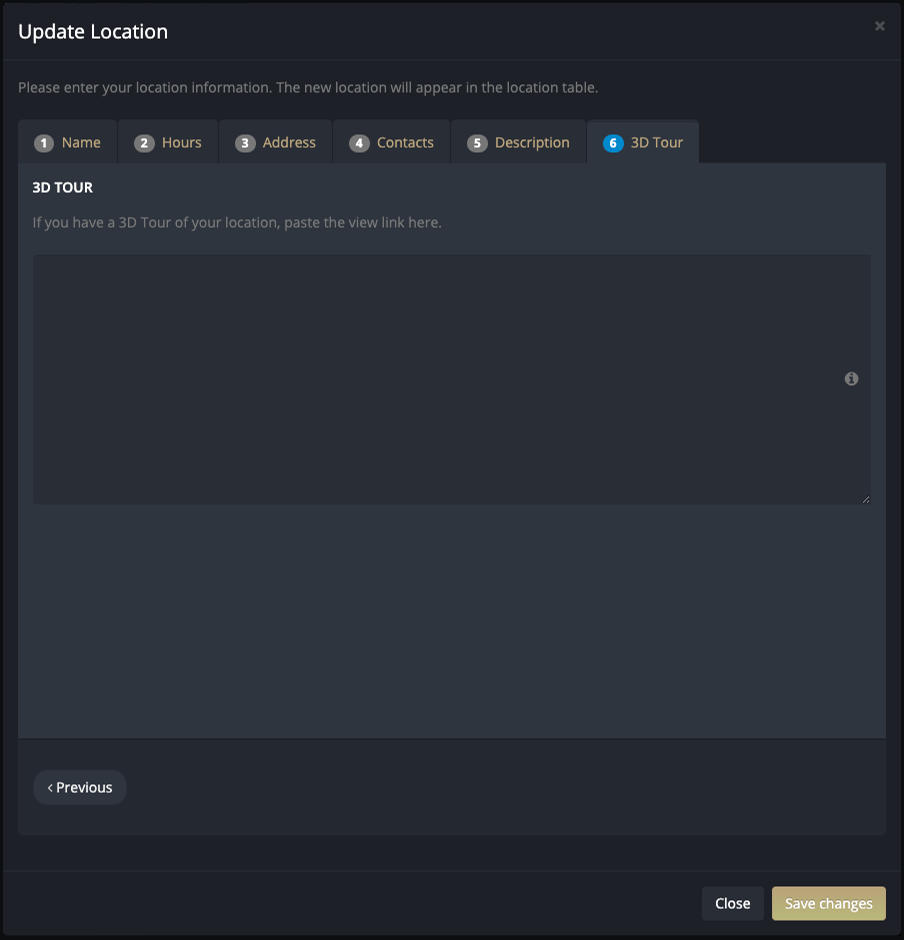
One of the featrues of NewLIST is also being able to show a 360 Tour of your location. If you have a self-playing tour of your location, paste the embed HTML code in the
Saving Changes
When you have completed adding or updating your location's information, click the save button to save your location information and return to the manage locations table.

